Planning & Design · October 19, 2026 · 8 min read
Outdoor Speaker Wiring: What To Set Before The Pavers Go Down
Outdoor speaker wiring needs a cable and sleeve plan before hardscape closes access. Check burial ratings, amplifier loads, crossings and service records.
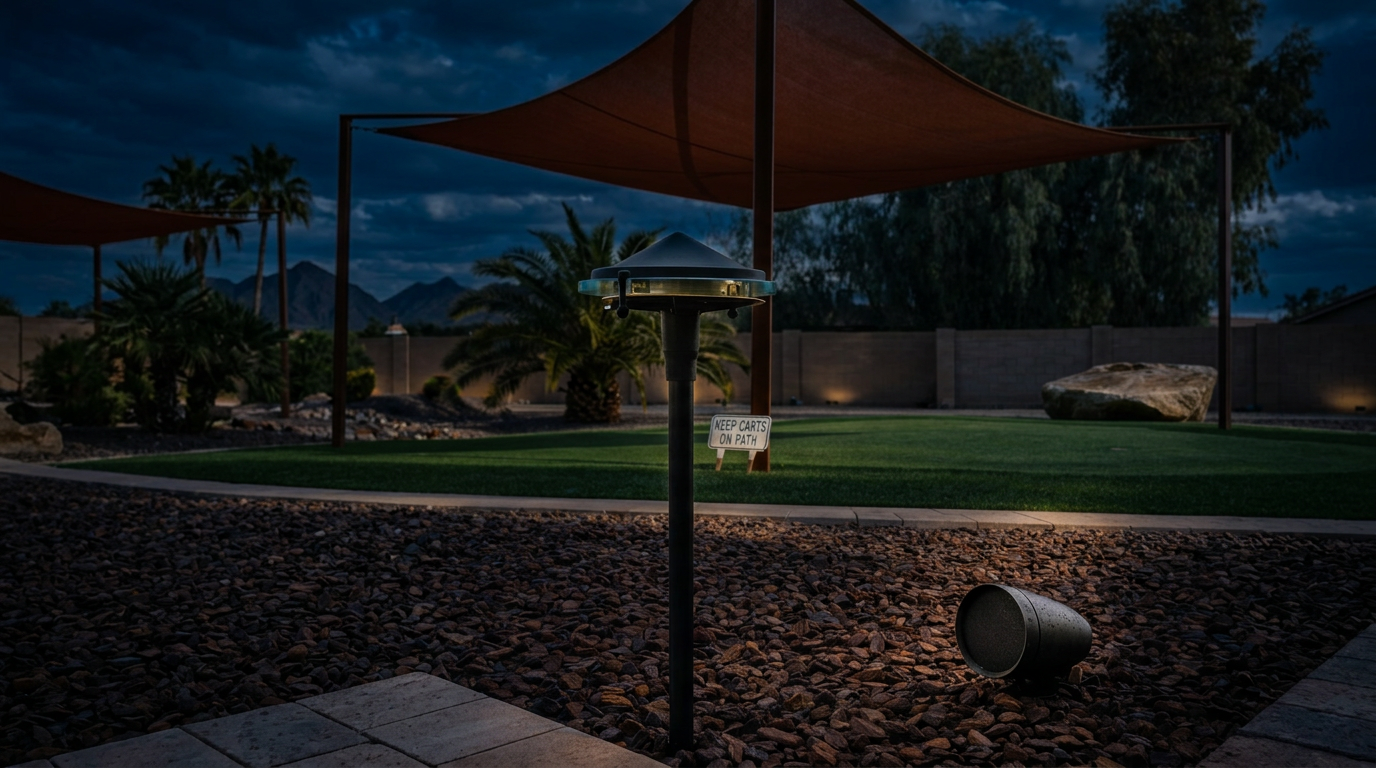
Outdoor speaker wiring should be specified before pavers, coping and planting close the cable paths, not after the speakers arrive. The plan needs the amplifier location, circuit type, cable rating, hardscape crossings and a record of every buried connection. For a builder, the critical decision is preserving access while several trades still have the same ground open. A speaker can move a little during tuning; a missing sleeve under a finished patio turns that adjustment into another construction job.
Start The Outdoor Speaker Wiring Plan At The Equipment
Start at the amplifier and work outward, even though the speakers are what appear on the landscape plan. An indoor equipment rack and a shaded exterior cabinet create different cable lengths, ventilation needs and service access, so naming the destination after trenching leaves the crew guessing about the longest part of the run. The equipment location also needs power and a practical network connection for the selected controls.
On a new build, outdoor audio systems need coordination with the electrical, landscape and pool drawings before those drawings become separate field instructions. The speaker positions establish the listening areas, while the cable plan establishes how each area gets fed and where a technician can isolate it. Put both on one marked drawing, with revision dates, so a moved dining terrace does not leave its speakers wired to the old location.
Give each circuit a name tied to a place, such as Dining Terrace or Pool East, rather than a generic channel number. Carry that name from the drawing to the cable label at the rack, and keep the amplifier assignment alongside it. That small discipline matters when a finish crew arrives months after rough wiring and nobody remembers which unmarked pair serves the far bed.
- Confirm the amplifier location and required ventilation clearances.
- Mark each circuit, speaker position and planned expansion point.
- Coordinate power, network access and a reachable service location.
Choose The Circuit Before Choosing The Cable Gauge
A low impedance speaker circuit and a 70 volt distributed circuit do not use the same loading method. On a low impedance circuit, the installer checks the combined speaker impedance against what the amplifier channel supports; two 8 ohm speakers wired in parallel present a nominal 4 ohm load. Adding another speaker without recalculating that load can push a channel outside its rating, even when the wire looks substantial.
A 70 volt circuit instead uses transformer taps at the speakers, and the specified tap wattages are added to establish the channel load. Six speakers set to 10 watts represent a 60 watt nominal tap load before the amplifier manufacturer's required allowance is applied. Those numbers are examples of the calculation, not a proposed specification for every yard, and neither method gives permission to mix incompatible components.
Select gauge from the amplifier and speaker manufacturer's tables using the circuit load and the measured one-way route length, including cabinet entries and vertical rises. A straight line on a drawing misses the detour around a pool or retaining wall. Copper conductor size matters, and copper-clad aluminum is not an equivalent substitute at the same gauge; ask for the conductor material as well as the number printed on the jacket.
Treat Conduit As A Wet Location
Underground conduit does not keep cable dry. Condensation, groundwater and water entering at an exposed end can leave a sleeve wet long after the surface gravel dries, so an indoor cable does not become suitable outdoors because somebody pulls it through PVC. Specify a cable with the wet-location and burial suitability required by the installation, and check the complete product listing rather than relying on a jacket color or a sales description.
Direct burial runs also need protection against damage from planting, edging and later repairs. Follow the applicable electrical requirements, cable instructions and site conditions for cover, mechanical protection and routing, rather than taking a universal trench depth from an online diagram. Confirm current municipal and HOA rules before excavation, and arrange utility locating with the appropriate local service while separately identifying private irrigation, pool and electrical lines.
PVC crossings should use fittings and bends intended for cable pulling, with ends protected from dirt during construction and a pull cord left for the next trade. Do not assume speaker wiring can share a raceway with household power or another system; separation depends on circuit classification, listings and current requirements. Coordinating routes saves disturbance, but it does not replace checking what belongs inside each sleeve.
- Verify the cable's listed use for the actual underground conditions.
- Locate public utilities and document private services before digging.
- Keep pull cords, protected ends and suitable bends at crossings.
Put Sleeves Where The Next Trade Will Close Access
A sleeve earns its place wherever a later trade will make access difficult: under a paver walk, across the approach to a pool deck, through a retaining wall or beneath an outdoor kitchen footing. Mark both ends on the plan, not just a line through the middle of the patio. An outlet hidden beneath a future planter is not an accessible outlet, and a sleeve ending short of the planting bed still leaves a hardscape crossing unsolved.
Coordination with builders should happen while rough grades and structure locations are still being confirmed. Set a hold point before pouring or laying pavers so the responsible trade verifies each crossing, photographs it and checks that a pull cord travels through the complete route. A capped piece of pipe visible at one side proves little if the opposite end was buried during grading.
Plan spare capacity deliberately instead of buying oversized pipe without a reason. A future seating area benefits from a separate reachable sleeve and a documented destination, while a spare pipe ending in the wrong bed does not. Where landscape lighting follows similar routes, coordinate the crossings together and preserve the separation each system requires, rather than expecting one crowded conduit to solve both installations.
Make Connections Serviceable In Desert Ground
Every buried splice is a future inspection point, so fewer well-documented connections are better than a chain of unrecorded joins. Use connection hardware listed for the cable, conductor size and underground exposure, following its preparation and sealing instructions. Tape around an ordinary connector is not a substitute for a suitable assembly, and a landscape box is not a dry environment merely because it has a lid.
Leave enough cable for a speaker to be lifted and serviced without pulling against the buried joint, but keep that reserve protected and within the equipment instructions. Locate connections away from irrigation discharge and predictable runoff where the layout permits. Caliche, imported fill and decomposed granite make different digging conditions, and none justifies using a wet connection pocket as the default place to leave excess cable.
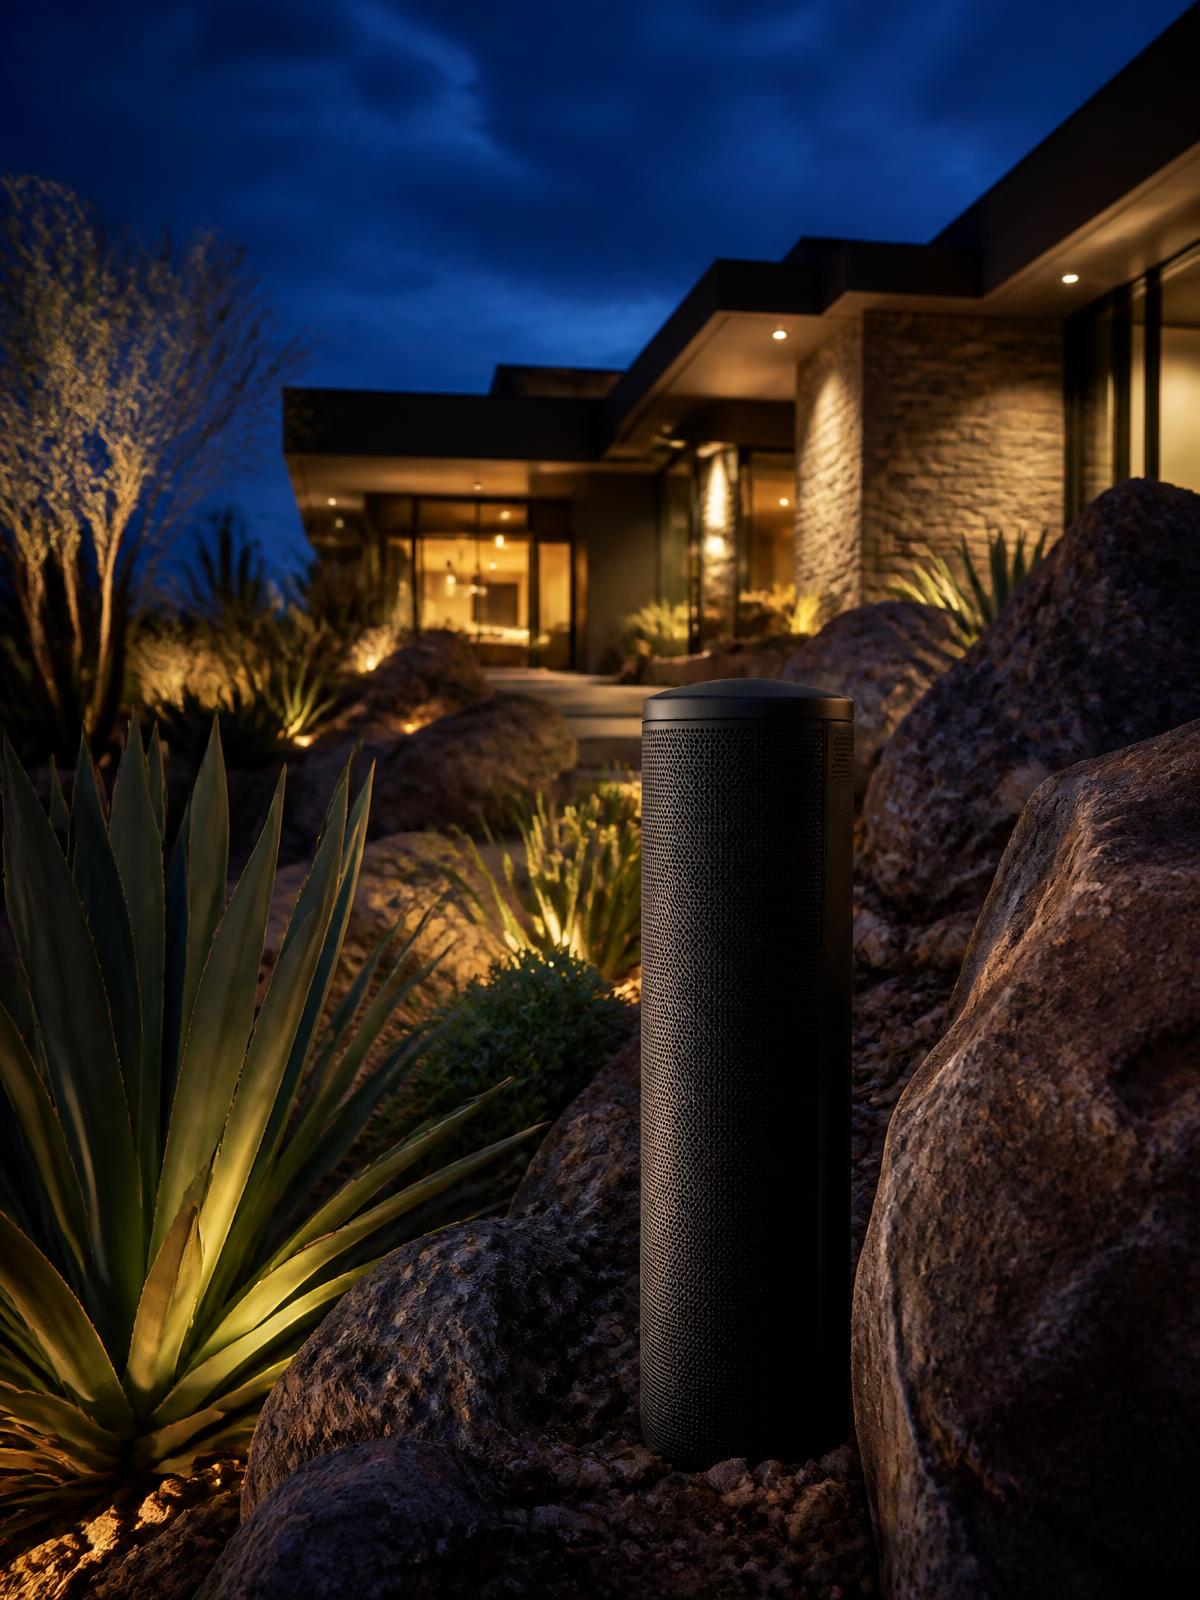
The visible satellite needs to stay in a usable position as well as connect correctly. Keep it out of paths used by landscape equipment and allow for plant growth without hiding the grille behind a dense shrub. The poolside speaker placement guide addresses the wet edges and listening positions around decking; its layout should inform the cable destination before the crew backfills the run.
- Use connection assemblies rated for the actual cable and exposure.
- Record splice locations and leave protected service allowance.
- Keep speakers reachable without placing them in maintenance traffic.
Test And Record The Work Before Backfilling
Test cables while they are accessible and disconnected from the amplifier and speakers as required by the test method. Confirm circuit identity, continuity and the absence of shorts, then label both ends before equipment connections obscure them. Any insulation testing must be appropriate for the cable and performed without exposing connected electronics to the test voltage; this is not a place for improvising with whatever meter is nearby.
Photograph the open routes against fixed references such as a wall corner or footing, and record crossings, splice points and changes from the drawing. A photograph containing only dirt and an unlabeled cable will not tell a future crew where to dig. Measure useful offsets and save the records with the project handover rather than leaving the only copy on an installer's phone.
Once the speakers are connected, test the complete system before final restoration and listen from the actual seating positions. Confirm channel assignments and polarity, operate each zone separately and check that one control does not change a supposedly independent area. Electrical checks find wiring faults; listening finds misplaced coverage, and both are necessary before the planting team closes access.
Hand Over A Plan That Survives The Install
The finished records should identify the installed cable, circuit loads, amplifier settings and buried routes, including changes made during tuning. Include enough information for a service visit to isolate a problem without opening every planting bed. A later speaker addition still needs a fresh load check, even if the original drawing labels that area as a future phase.
Use the project gallery to see the visible scale of finished landscape equipment, then review the less visible infrastructure with the installation team. If you are coordinating a new patio or landscape package, request a consultation while the crossings are still accessible. The useful handover is a yard that sounds right and a drawing that explains how it was built, not a bundle of spare cable and a promise that someone remembers the route.
Frequently Asked Questions
Planning A Project?
We walk the property in daylight, come back after dark, and design the system around what your home actually needs.
Continue Reading
Outdoor Audio · 9 min read
Poolside Speakers: Where They Go and Why Placement Decides Everything
Outdoor Audio · 8 min read
Outdoor Audio That Disappears: Designing Landscape Sound for Arizona Backyards
Outdoor Audio · 9 min read